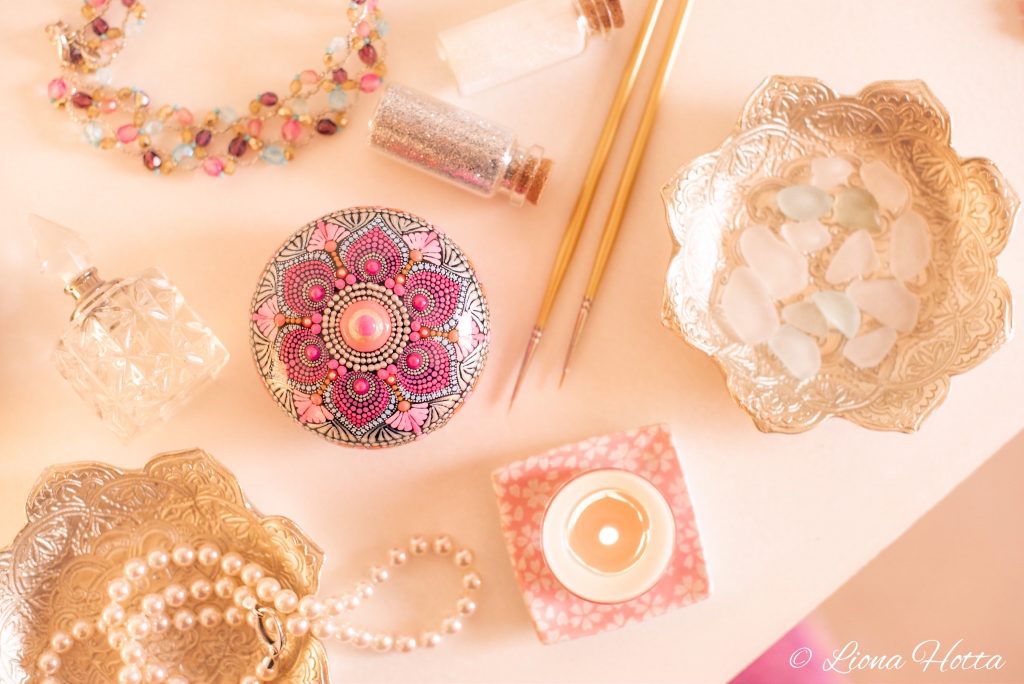
Epoxy Resin For Dot Art Mandala Stones
Want the printable Resin Guide Book?
Click on the guide below and register for my Free Goodies to download it for free:
A quick note from Liona
This is MY way to resin my selected pieces, and in no way it is the only nor most recommended way for you to resin YOURS.
To get the best of resin ability I suggest you investigate and inquire on your on, learning from as many teachers as you can, adjusting and taking what benefits you from each one.
Before you start
- In this technique I do not resin more the 2-3 pieces at a time, as each need a special attention during a few hours after the initial apply.
- This resin technique is suited for dot mandala stones with top and sides dotted and flat, un-dotted bottom.
- The total resin process takes 4 weeks in which I resin 4 times- twice the bottom of the stone and twice the top, letting a week curing time between each resin.
Preparation
- Clean Gloves (3 pairs – one for mixing and first applying and 2 more for drip cleaning in the hours following the applying).
- Glasses or protective glasses to protect your eyes.
- Work in a dust-free ventilated room (don’t resin the same day you dusted).
- Clean Plastic cups.
- Clean wood stick for mixing and applying.
- A lower container for hot water bath.
- Get your hair of the way before starting.
- After wearing Gloves do not touch your face or hair.
- Remember- A little goes a long way don’t mix too much resin.

Mixing
Read well the instructions:
Different brands have different ratios (1 to 1 , 100 to 60, etc.) and different measurement units (weigh or volume). Make sure you mix the correct ratio and correct measurement unit.
Once joining the two components of the epoxy resin as suggested in the instructions on the label, place the mixing container in a hot water bath (up to half of the hight of your mixing container to avoid water running in or splashing on to the resin within it).
This will help soften the resin and will result in less bubbles.
Make sure no water drips in or splash on the resin while mixing.
Mix well during at least 3 minutes, scraping the sides and the bottom of the container while mixing.
After mixing it well, take the container out of the hot water bath and dry the outer side of the container with a soft paper towel to prevent from water to get in the resin accidentally.
Let resin stand for about 40 minutes to get it thick and sticky before applying. This way you will face less drips on the sides of the stone and you’ll get a thick, even layer of resin on your stone surface.
Please note: different brands of resin might be acting differently, also, the climate, the weather are playing a roll in the speed of hardening of resin, so you want to watch carefully, and check how long it takes your resin to get to the right point of application.
To resin the bottom of the stone
- Place the stone in a way it is stable and straight. The resin levels itself, moving towards the lower part and if your bottom surface is not levelled it will result in a crooked base when dry.
- Make sure to resin only the base and not the sides.
- Come Back and check every hour during 4 hours after applying to make sure you have no drips, if drips appear, use a clean stick to wipe them.
- After 24 hours the resin is dry to touch, but not totally cured. Let dry another week so once you place the bottom of the stone on a narrow cup for the top resin process it will not leave a mark.
To resin the top of the stone.
Important:
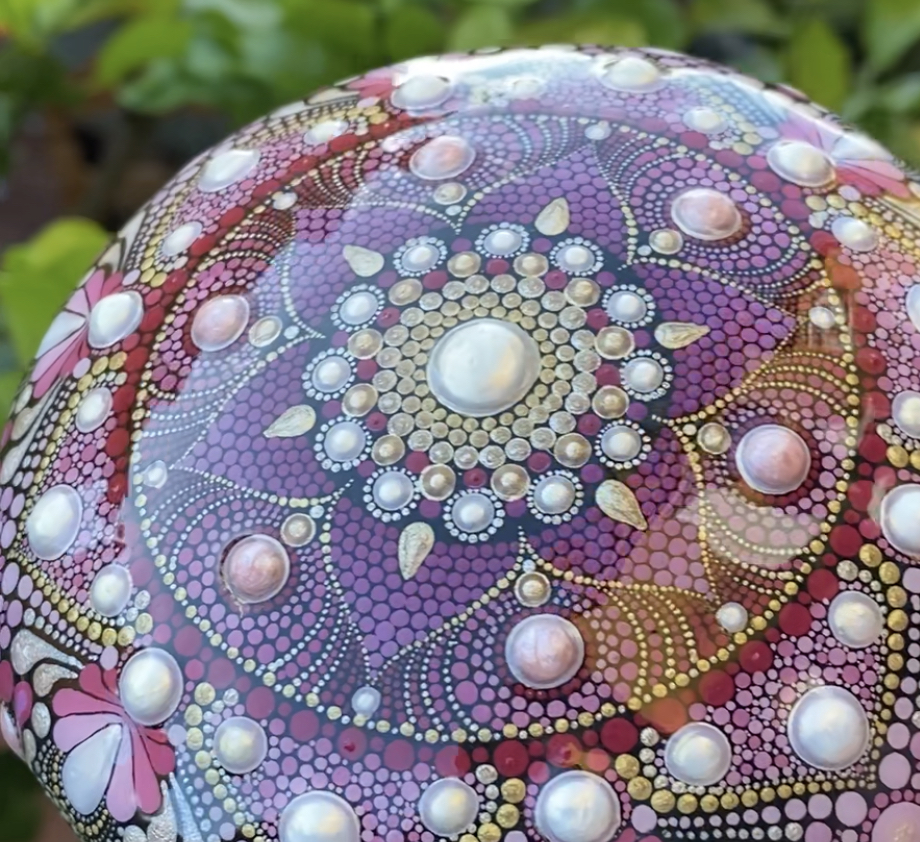
The top of the dot mandala stone is more challenging than the bottom as it has the dots sticking out and therefore resin might drip under them, creating little pools and imperfections on the surface. This is why it is important to resin twice (two weeks apart) and make sure your resin is thick and sticky but manageable, before applying it.
- I place the stone on a narrow base such as plastic cup to which I added stones to stable it, this way I can easily clean the drops that drip to the bottom during the next few hours.
- I mix the resin and let it rest as indicated above.
- Gently and patiently I apply the resin to the stone with a stick, making sure it is even and covering all the surface.
- I apply also on the sides of the stone (later I’ll come back to clean extra resin dripping from it).
- If you have a torch this is the time to use it to get rid of stubborn bubbles
- cover the pieces if possible with a box to prevent dust falling and sticking
- I Come Back and check every hour during 4 hours after applying to make sure I have no drips, if drips appear, I use a clean stick to wipe them.
- After 24 hours the resin is dry to touch, but not totally cured. Let dry another week or so.
- I give at least a week for the resin to dry and fully cure before I repeat the whole process- starting from the top and only then the bottom.
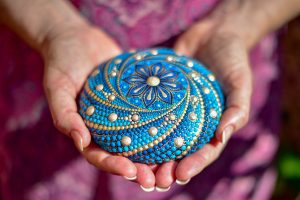
Enjoy Resin!
Want the printable Resin Guide Book?
Click on the guide below and register for my Free Goodies to download it for free:


 My concerts, as well as my vocal classes, workshops, painted pieces and painting courses are dedicated (as I believe all art teaching and manifesting should) to help people get inspired, and take steps towards growing their self-esteem, and becoming more open-hearted and loving.
This video is so helpful! I bought resin and my first time wasn’t very good. Even watching other videos didn’t help. They never said to let the Art Resin sit for 40 minutes, nor putting it in a warm bath while mixing. I have a large quarry rock that I have painted and will resin it per your instructions. Thank you for your tutorial!
Hi Annette,
Thank you so much! I am happy this helps.
Please make sure to check once in a while that your resin doesn’t get too hard after mixing, in different brands there might be different reaction periods.
Good luck!
Liona
This is Great!!! Thank you
You are very welcome!
What brand of resin do you prefer?
I don’t have a preferred one I actually work with whatever I can get my hands on, I used Resin 4 Decor in this video because this is the one I can get here in Spain.
Into The body And Out – Practical Tools To Enhance Your Creativity
5 tips to take your dot mandalas to the next level
Slow Down
Beer & Nuts Bread
The Story Behind My Pricing
Great Dots